The Download Piece Report action provides you with a daily report on all pieces created within a past time period that you can specify. This time period is entered in days, allowing you to include pieces that were created within the past day, two days, three days, etc.
This report comes in the form of a CSV, TSV, or XML file and is downloaded to your local environment on a daily basis between 12:00 AM and 3:00 AM in your timezone. The report will contain detailed information on all pieces that were created within the time period specified. You can download an example report here.
Setup
To set up the Download Piece Report action in Easy Send Automate …
- Click Setup on the homepage.
- Click Add at the top of the Setup page.
You’ll be brought to the Action Settings page.
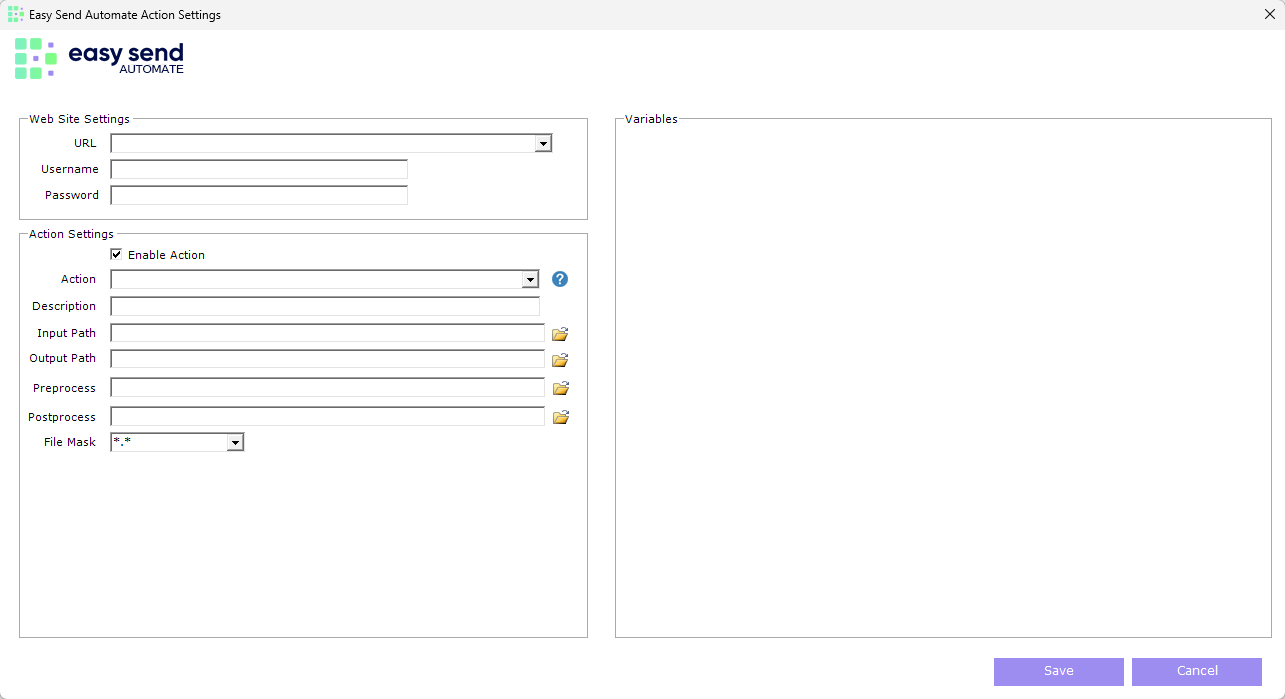
Website settings
First, select the URL that contains easysenddigital.com. This represents the production endpoint. The other option in this dropdown represents a test environment and should only be used when troubleshooting with our support team.
Then, within the Easy Send Digital web-app, find your integration credentials. Copy and paste your Integration ID into the Username field and your Integration Key into the Password field. You can see instructions on creating or finding your integration credentials here.
Action settings
Make sure the Enable Action checkbox is checked, then select Easy Send Download Piece Report from the Action dropdown. Once this is selected, you’ll see a few more options appear under the Variables section.
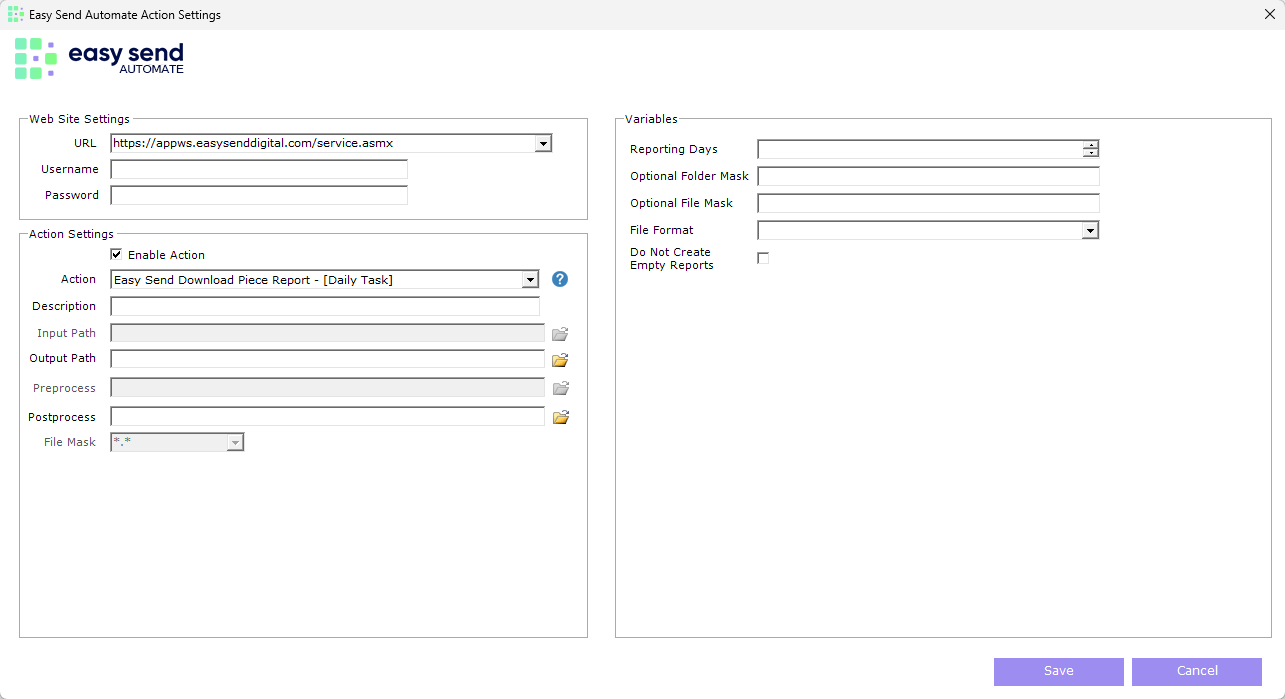
You can choose to add a Description to this action to be able to identify it easier.
Next, select an Output Path. This is the exact location in your local environment where the reports will be saved.
The Postprocess field is an optional field that allows you to upload a VB script file. This script will run after each report is downloaded, allowing you to automate any kind of processing you’d like to execute for each file.
Variables
In the Variables section, specify a time period for reporting in the Reporting Days field. Entering 1 will include all pieces created within the past day, 2 will include all pieces created within the past two days, etc.
Next, you can define an Optional Folder Mask. This allows you to categorize the downloaded reports into folders based on information about that particular report, such as the date and time it was downloaded. For example, entering [created_date] into this field would result in a folder structure like this:
├── created_date/
│ └── piece_report.csv
├── created_date/
│ └── piece_report.csv
...
See below for a complete list of the available fields you can use in your names.
You can also define an Optional File Mask. This allows you to fully customize the naming convention for the file that’s downloaded. If you choose to leave this field blank, the file name will follow the default naming convention:
PIECEREPORT_[created_date:yyyymmddHHmmss]
To customize the naming convention, use the name of the field in square brackets [ ] as shown above. See below for a complete list of the available fields you can use in your names.
Next, choose your preferred File Format from the dropdown menu. Your options include CSV, TSV, or XML.
Finally, select Do Not Create Empty Reports if you’d like Easy Send Automate to prevent the creation of empty reports when no data is available.
Once you’re done, click Save, and your action will be created. You are now set up to have the reports automatically downloaded to your local environment each day.
Viewing downloaded reports
Once the action is set up, you’ll see a new report appear in your designated output folder each day.
File and folder masks
Here is a list of all of the available fields you can use for your File Mask and Folder Mask.
Dates
- [created_date] – The date the action was ran in the format of ddyyyymm
- [created_date:yyyymmddHHmmss] – The date and time the action was ran in the format of yyyymmddhhmmss
- [created_date:yyyymmdd] – The date the action was ran in the format of yyyymmdd